
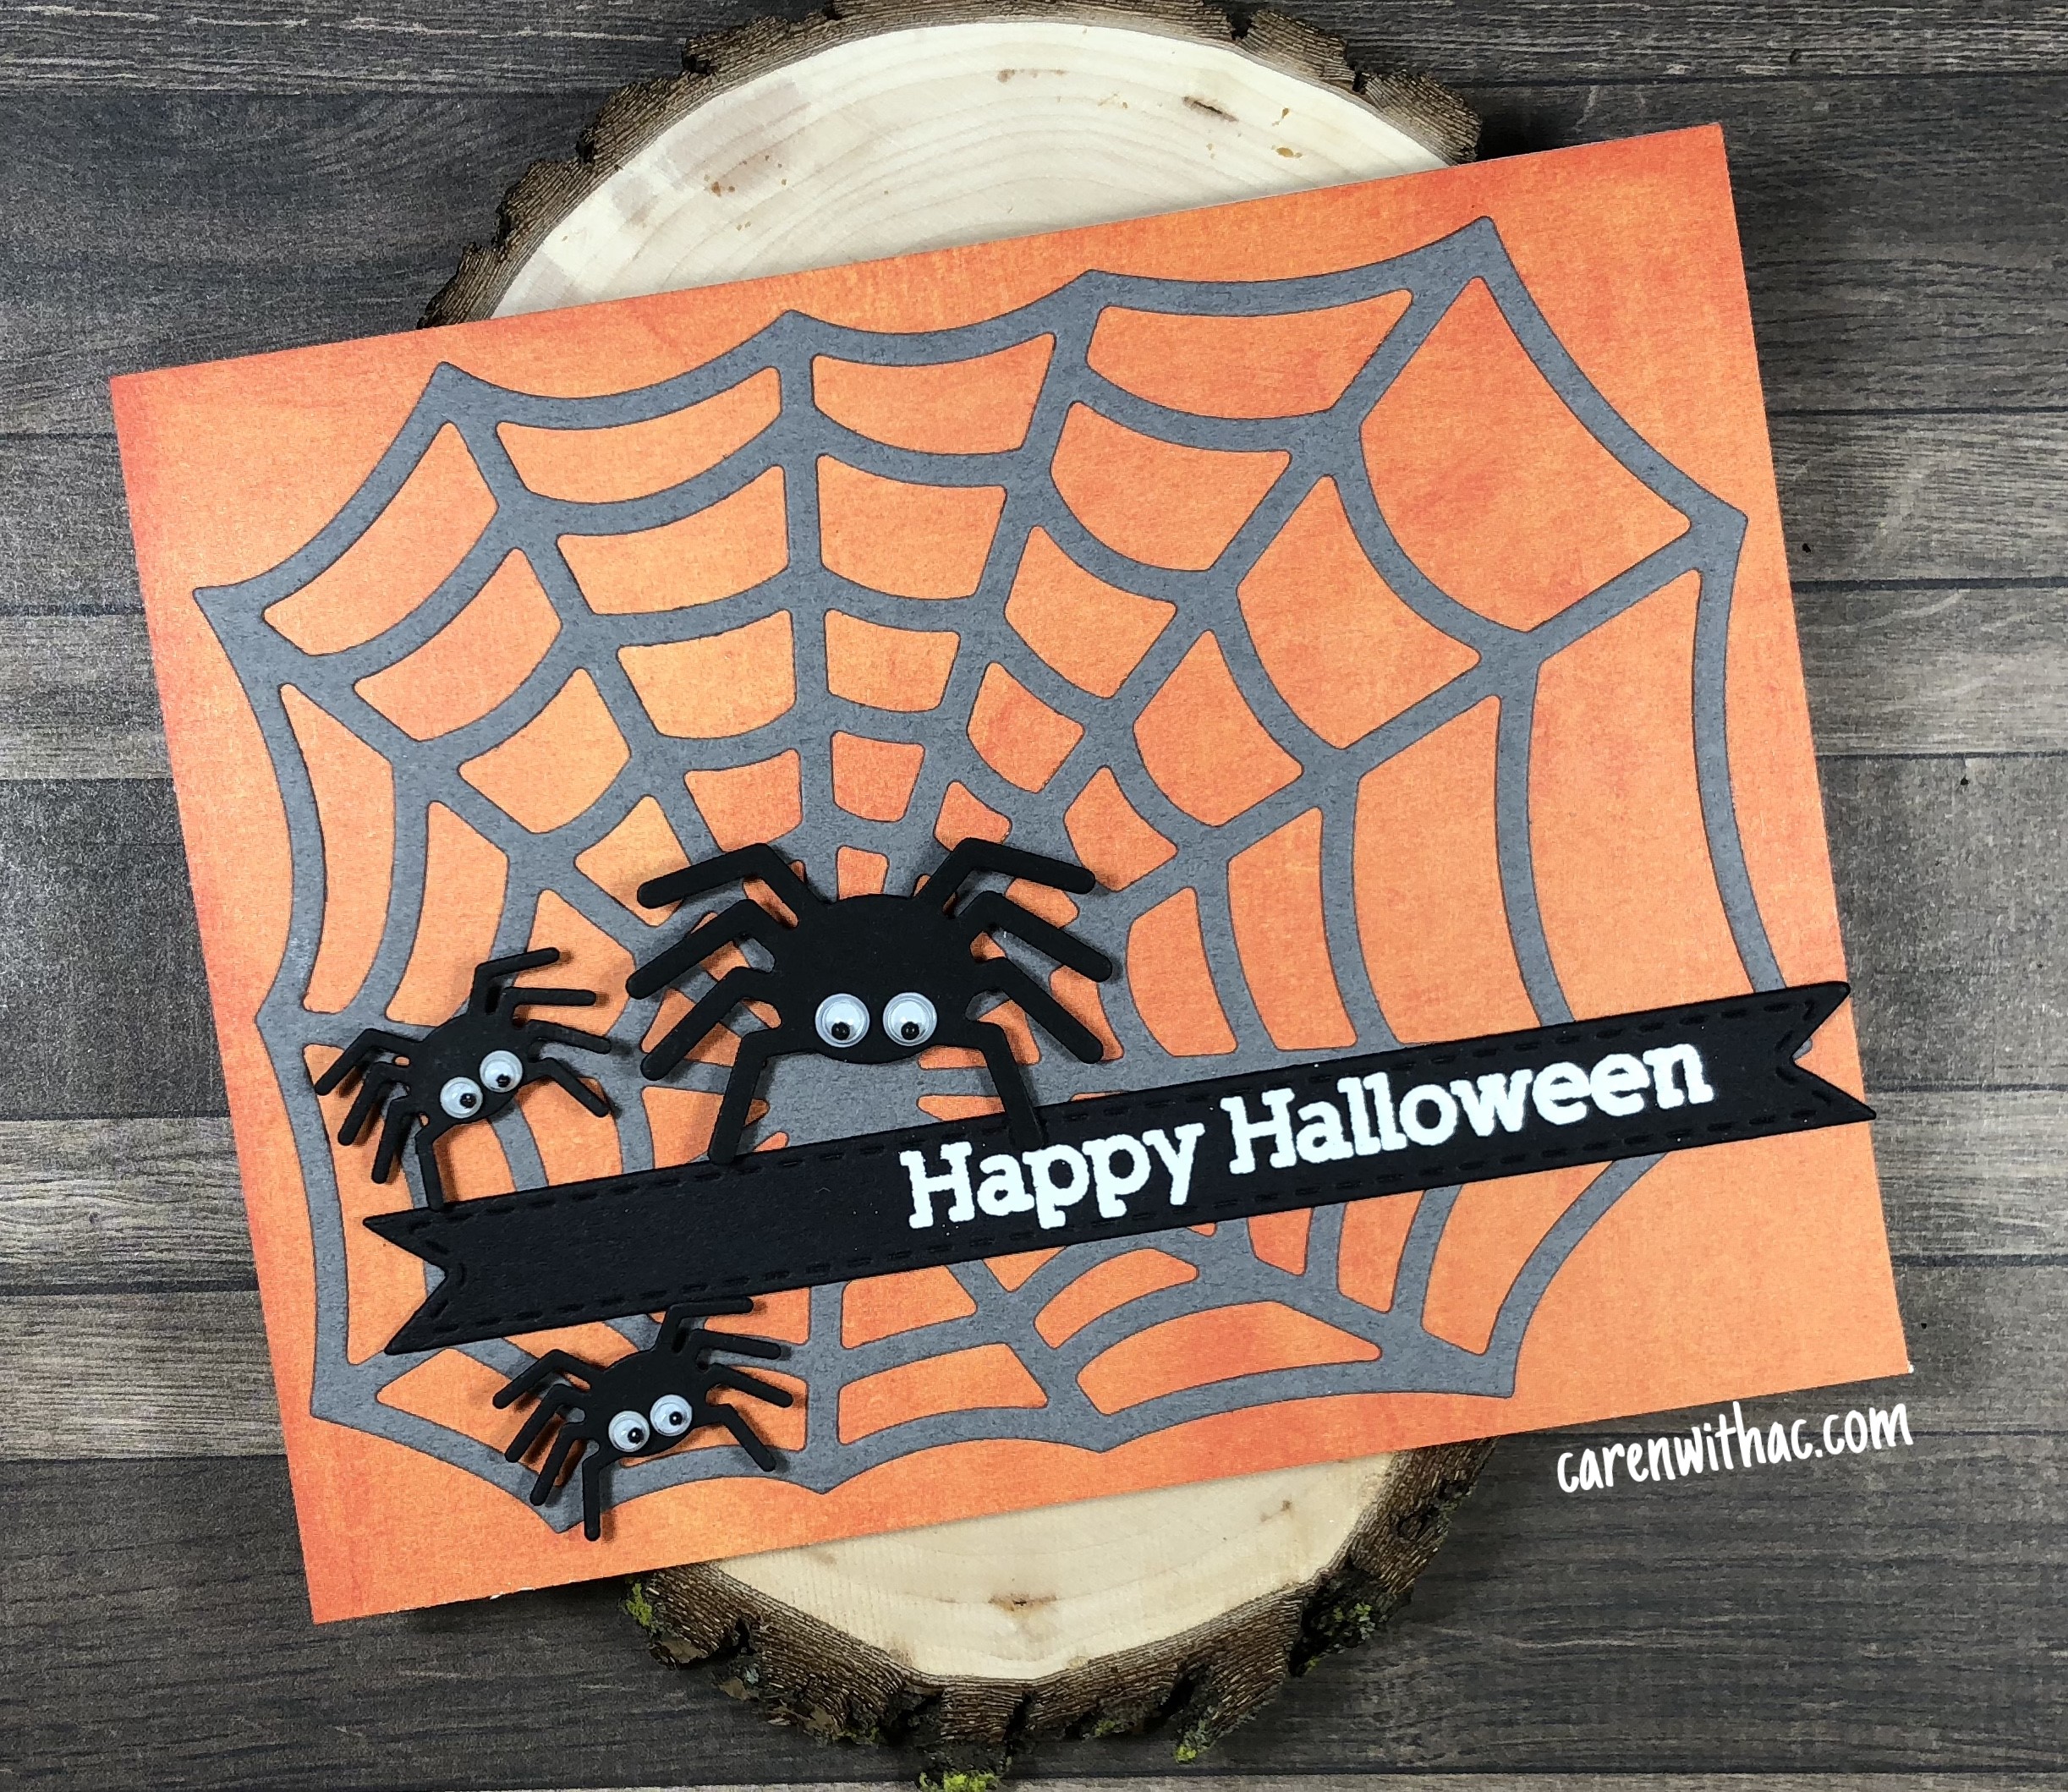
I love making Halloween colors – I think it’s the colors that draw me to them. I used the Freshly Made Sketch this week for this card.
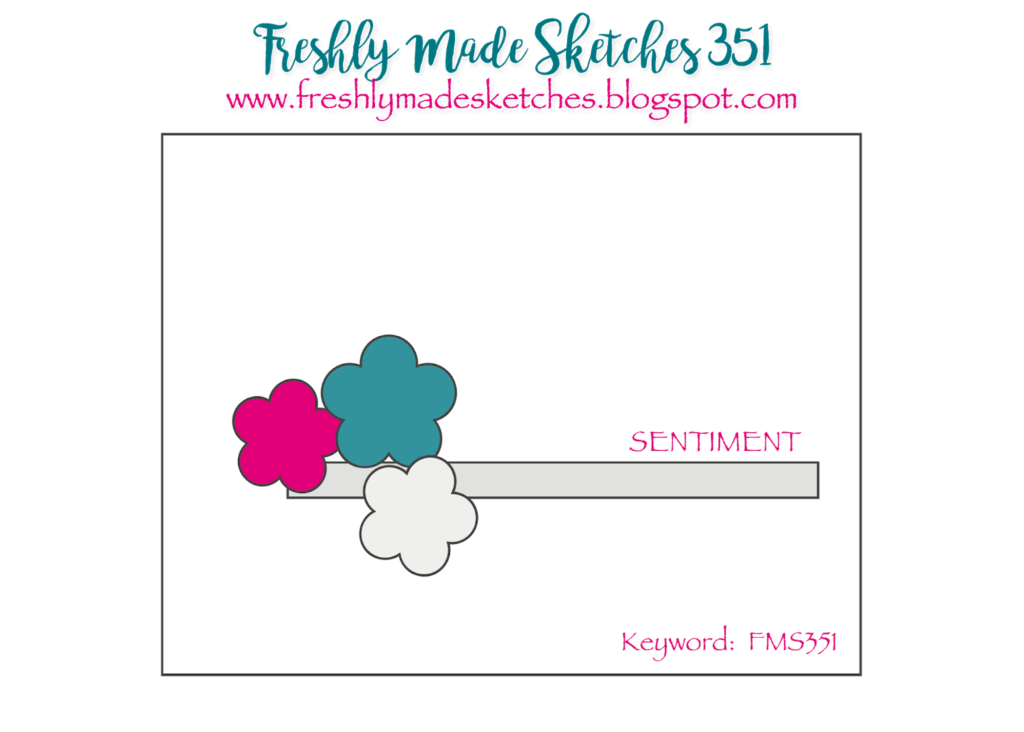
 Here is a look at this weeks sketch.
 Thanks for stopping by.
I love making Halloween colors – I think it’s the colors that draw me to them. I used the Freshly Made Sketch this week for this card.
Here is a look at this weeks sketch.
Thanks for stopping by.
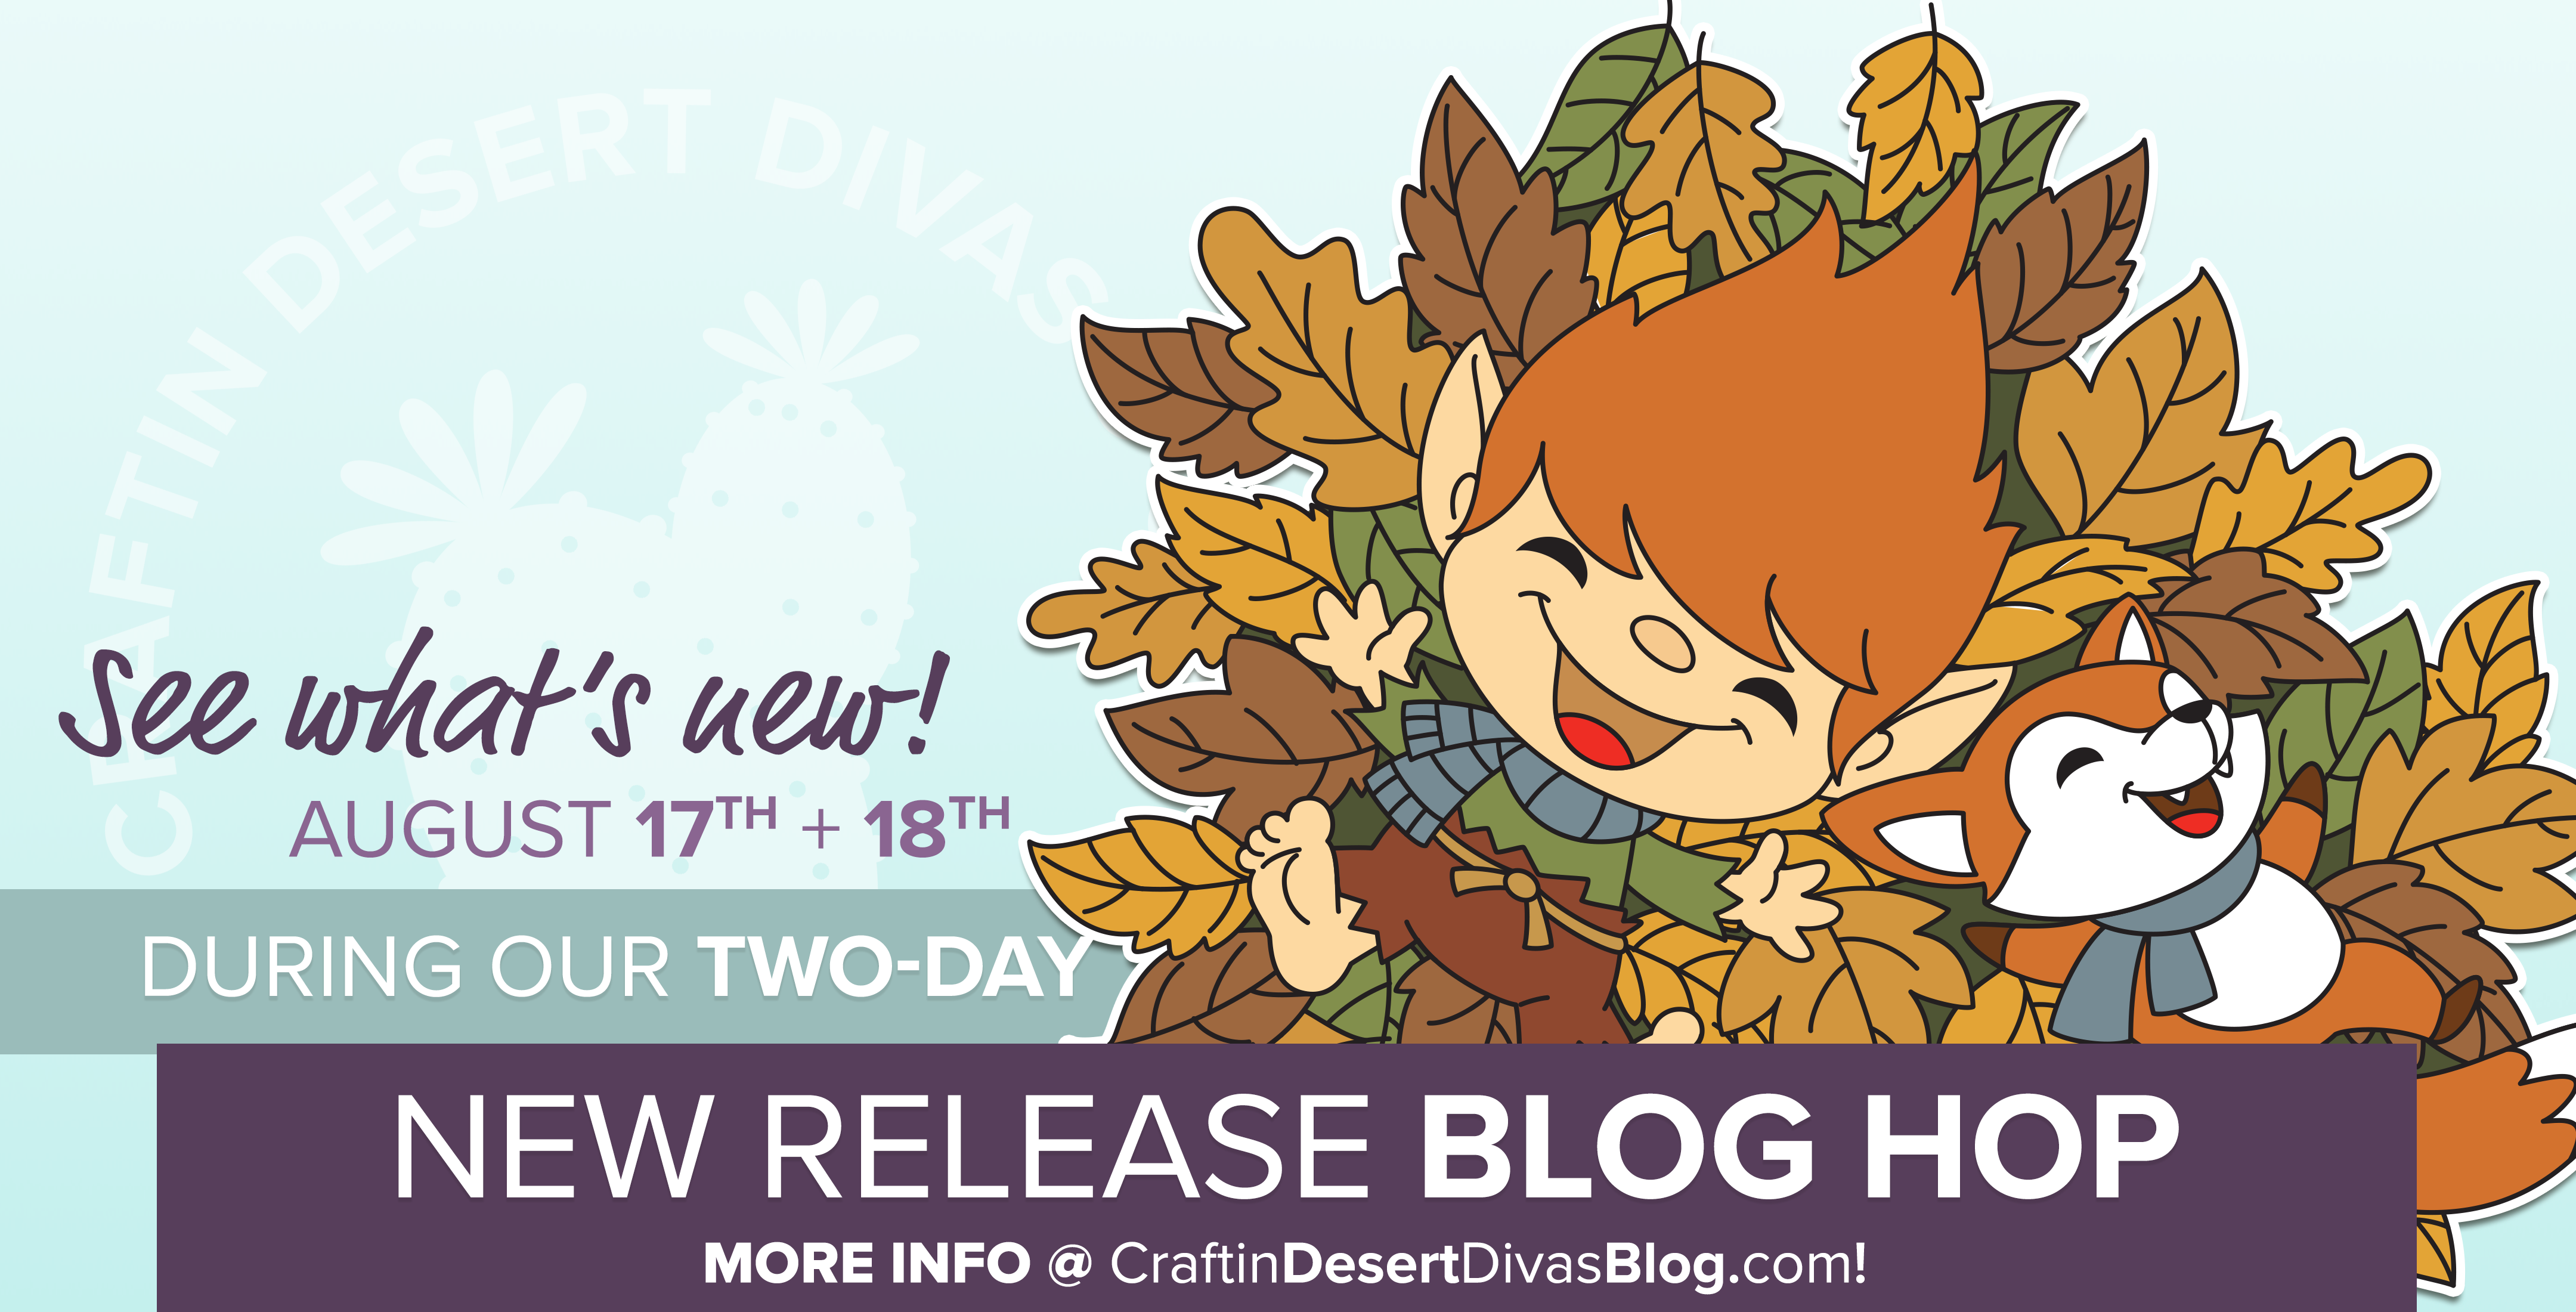 I’m so excited about the new August Release! Crisp leaves, fall friends and more make this release absolutely darling. I’m showcasing three of the new digital stamps – Leaves from the Tribal Outdoor set, Tribal Squirrel, and Tribal Sloth.
![]()
![]()
![]()
![]() This is a two day hop, here is the hop list for today – 8/17/2018:
This is a two day hop, here is the hop list for today – 8/17/2018:
Hop list for 8/18/2018:
Once you’re done hopping, head over to the Craftin Desert Divas shop to snag your special discount 5% off through 8/19.
Hi everyone! This weeks Designer Creative Challenge on the Craftin Desert Diva blog is Smiles Across the Miles. Besides major holidays and celebrations, one big reason to send cards is to let those we love know that we’re thinking of them. In today’s digital age, a handmade card is still one of the best gifts you can receive. So this week, the Craftin Desert Diva design team will be sharing inspiration for cards that would make anyone smile.
![]()
For my card, I’ve used the Oh My Llama digital stamp. Recently, I’ve been obsessed with llama stamps! They are too cute. I colored the digital with Copic markers. Stamped the Just Because sentiment from the Say it Big stamp set with vesafine ink, covered it with clear embossing powder, and heat set it.
One thing I do each at the beginning of each month is to make a list of a few people to send cards to for that month. This reminds me to not only make cards (which I really don’t need a reminder for!), but to also send out cards. Nothing is better than receiving a card Just Because!
Thanks for stopping by!
Hi everyone! It’s my final week of my Leading Lady reign at Winnie and Walter. I want to give a big thanks to Shay for giving me this opportunity and all who have left such encouraging comments on each post.

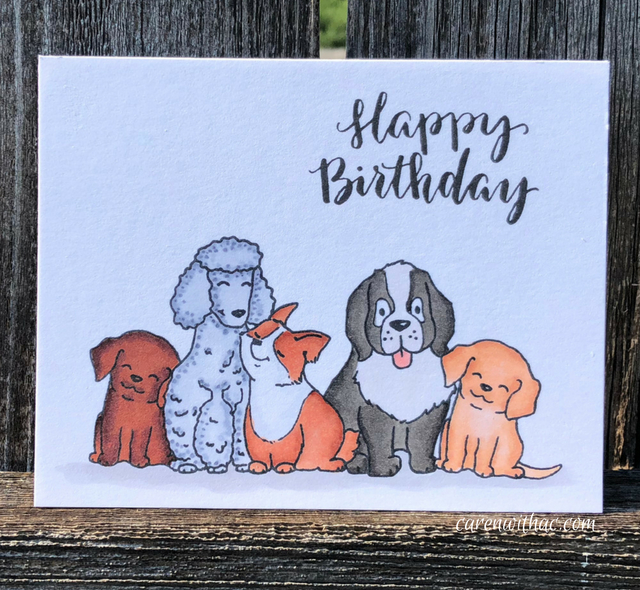
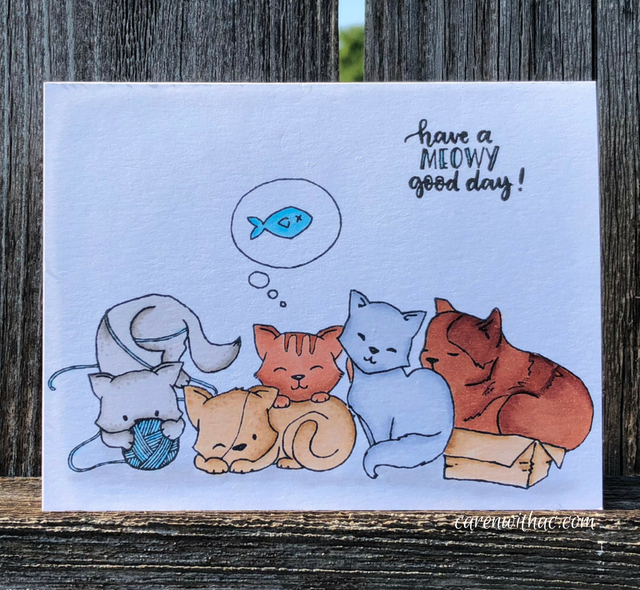
I’ve saved my favorites for this week! I created two one layer cards (this was difficult for me) with lots of masking and Copic coloring. At the beginning of June, I owned one Copic marker with no intention of buying anymore. Then I took a Copic class, only because a friend of mine was teaching it. Needless to say, I now own quite a few Copic markers. I still have so much to learn on how to use these, but I’m super happy on how these turned out.
For my first card, I stamped several of the dogs from the Dog-gone Cute with Evelin T Designs stamp set. I did some masking to get the dogs all lined up. I then painstakingly colored them with Copic markers. I stamped the Happy Birthday sentiment from Happy Dance with Evelin T Designs to finish the card.
For the second card, I did the exact same thing except with cats from the Purrfect with Evilen T Designs stamp set.
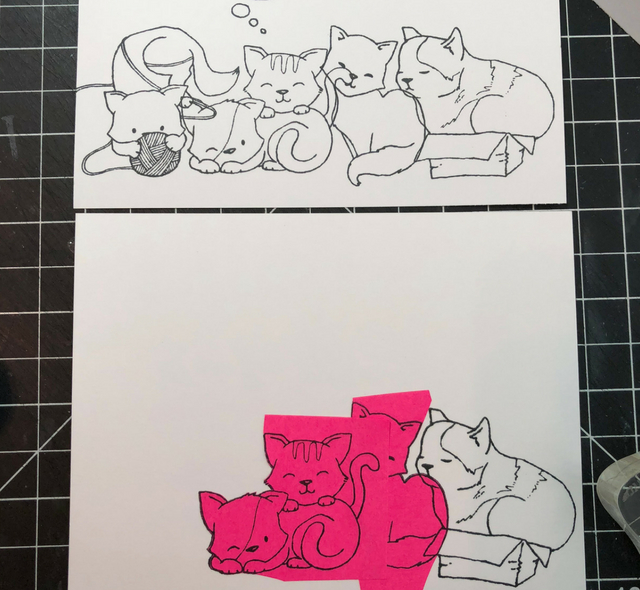
For each card, I first stamped out how I wanted them laid out on a scrap piece of paper (top of the photo below).

Then I started stamping and masking! When masking, you want to stamp the ones you want in the foreground first.
I’ve thoroughly enjoyed being a Leading Lady and working with such wonderful products at Winnie and Walter. Thanks again for the love the past three weeks. Leave a comment on this post by 8/4 for a chance to win a $30 gift card from Winnie and Walter. I will draw a random winner on 8/4 and contact the winner by email.
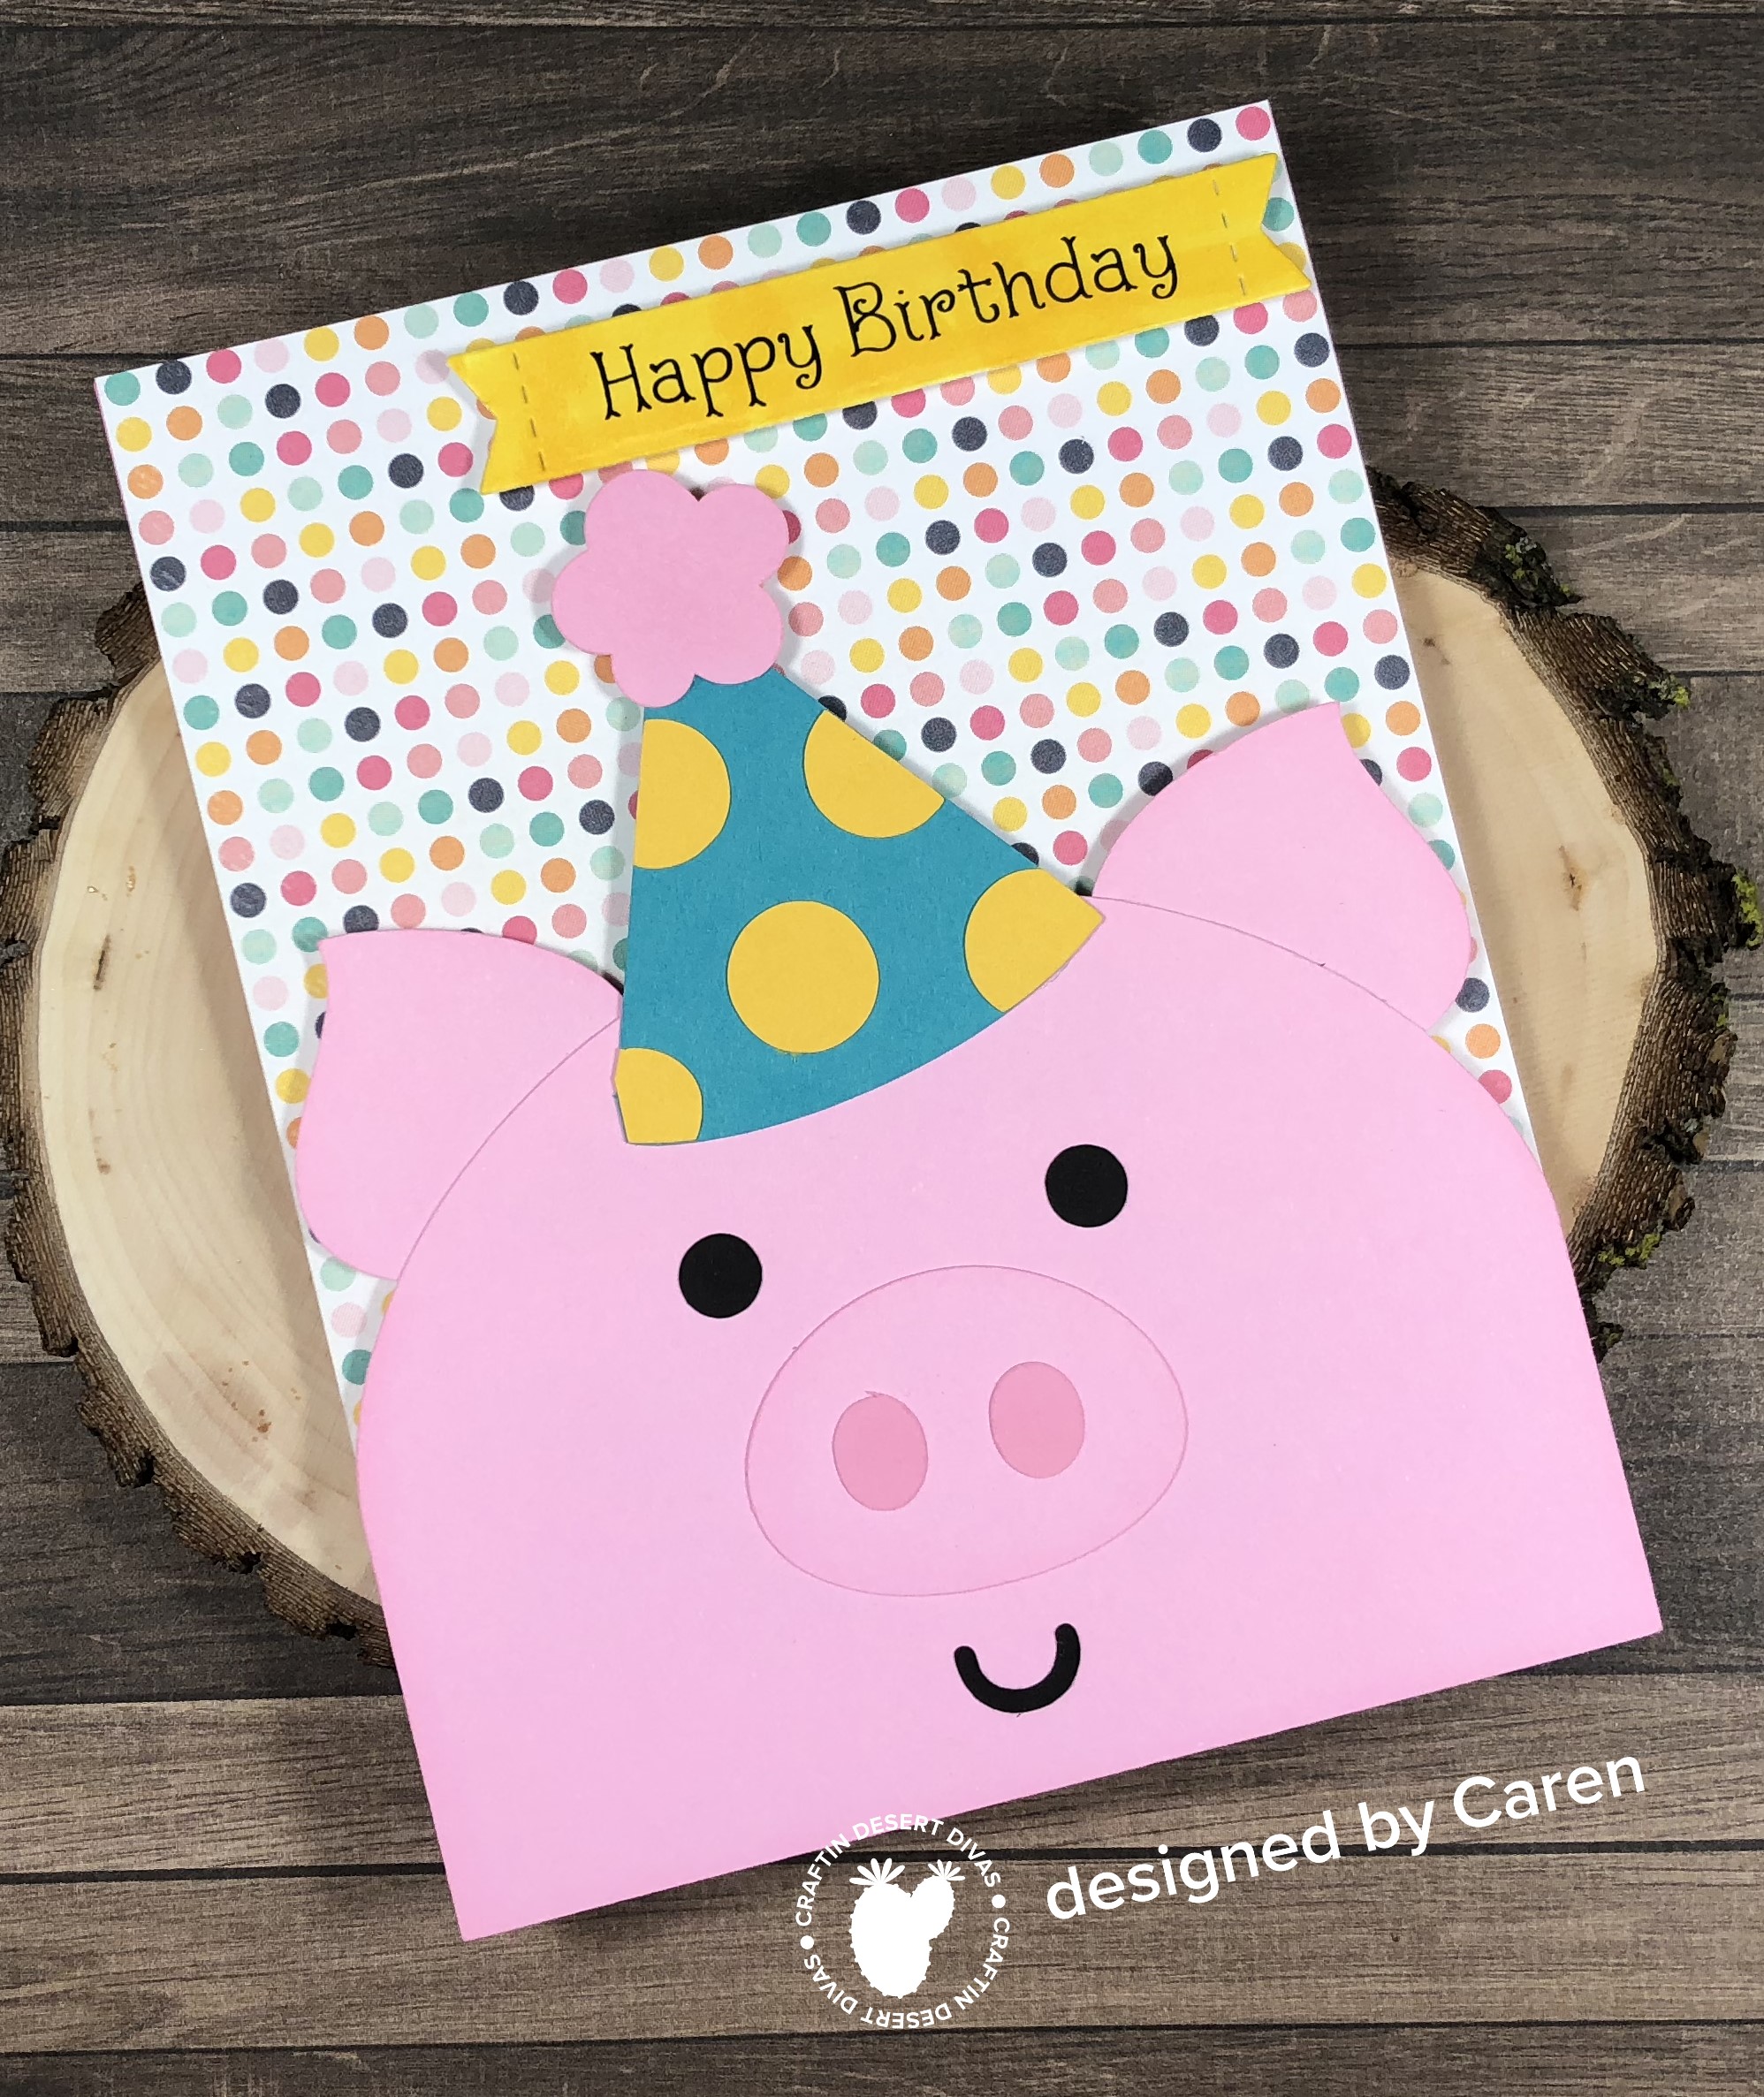
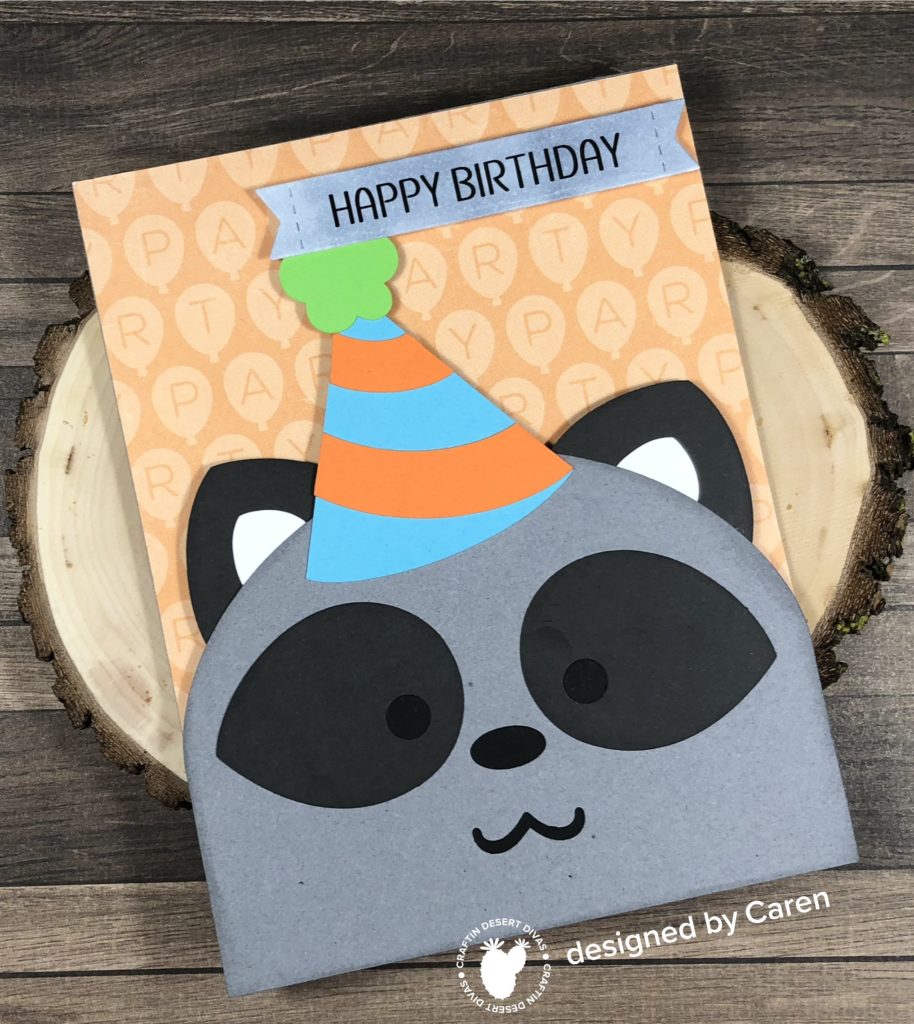
For this weeks Designer Creative Challenge on the Craftin Desert Diva blog, we are focusing on designing with Dies/SVGs. I used the Birthday Critters SVG Treat Bag Add On SVGs to create four cards. One with each critter in the set.
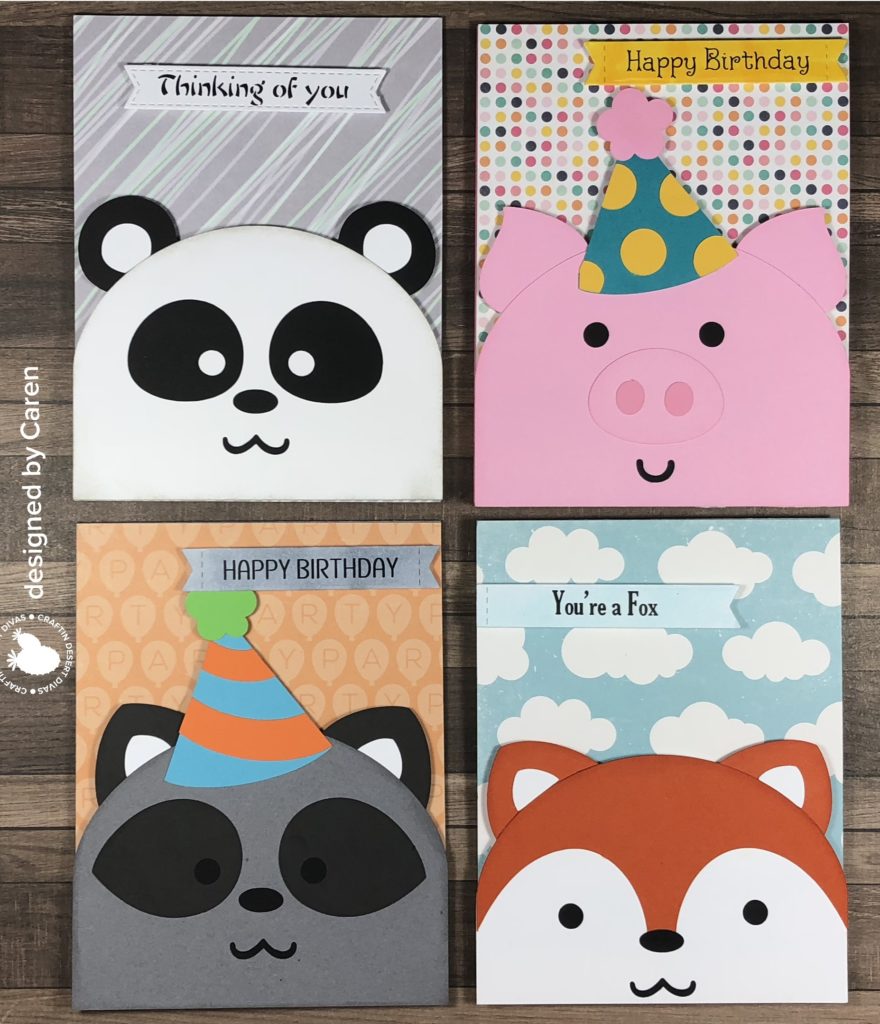 I resized the SVGs to fit on the front of an A2 size card (4 1/4″ wide) and cut the pieces out with my Silhouette Cameo. I then glued the pieces together and popped them up on my card bases with foam tape. I used various pieces of patterned paper for each of the cards. I printed out the sentiments, die cut them, and colored them with Copics to match the cards.
These were quick to put together and make super cute cards. Here is close up of each card.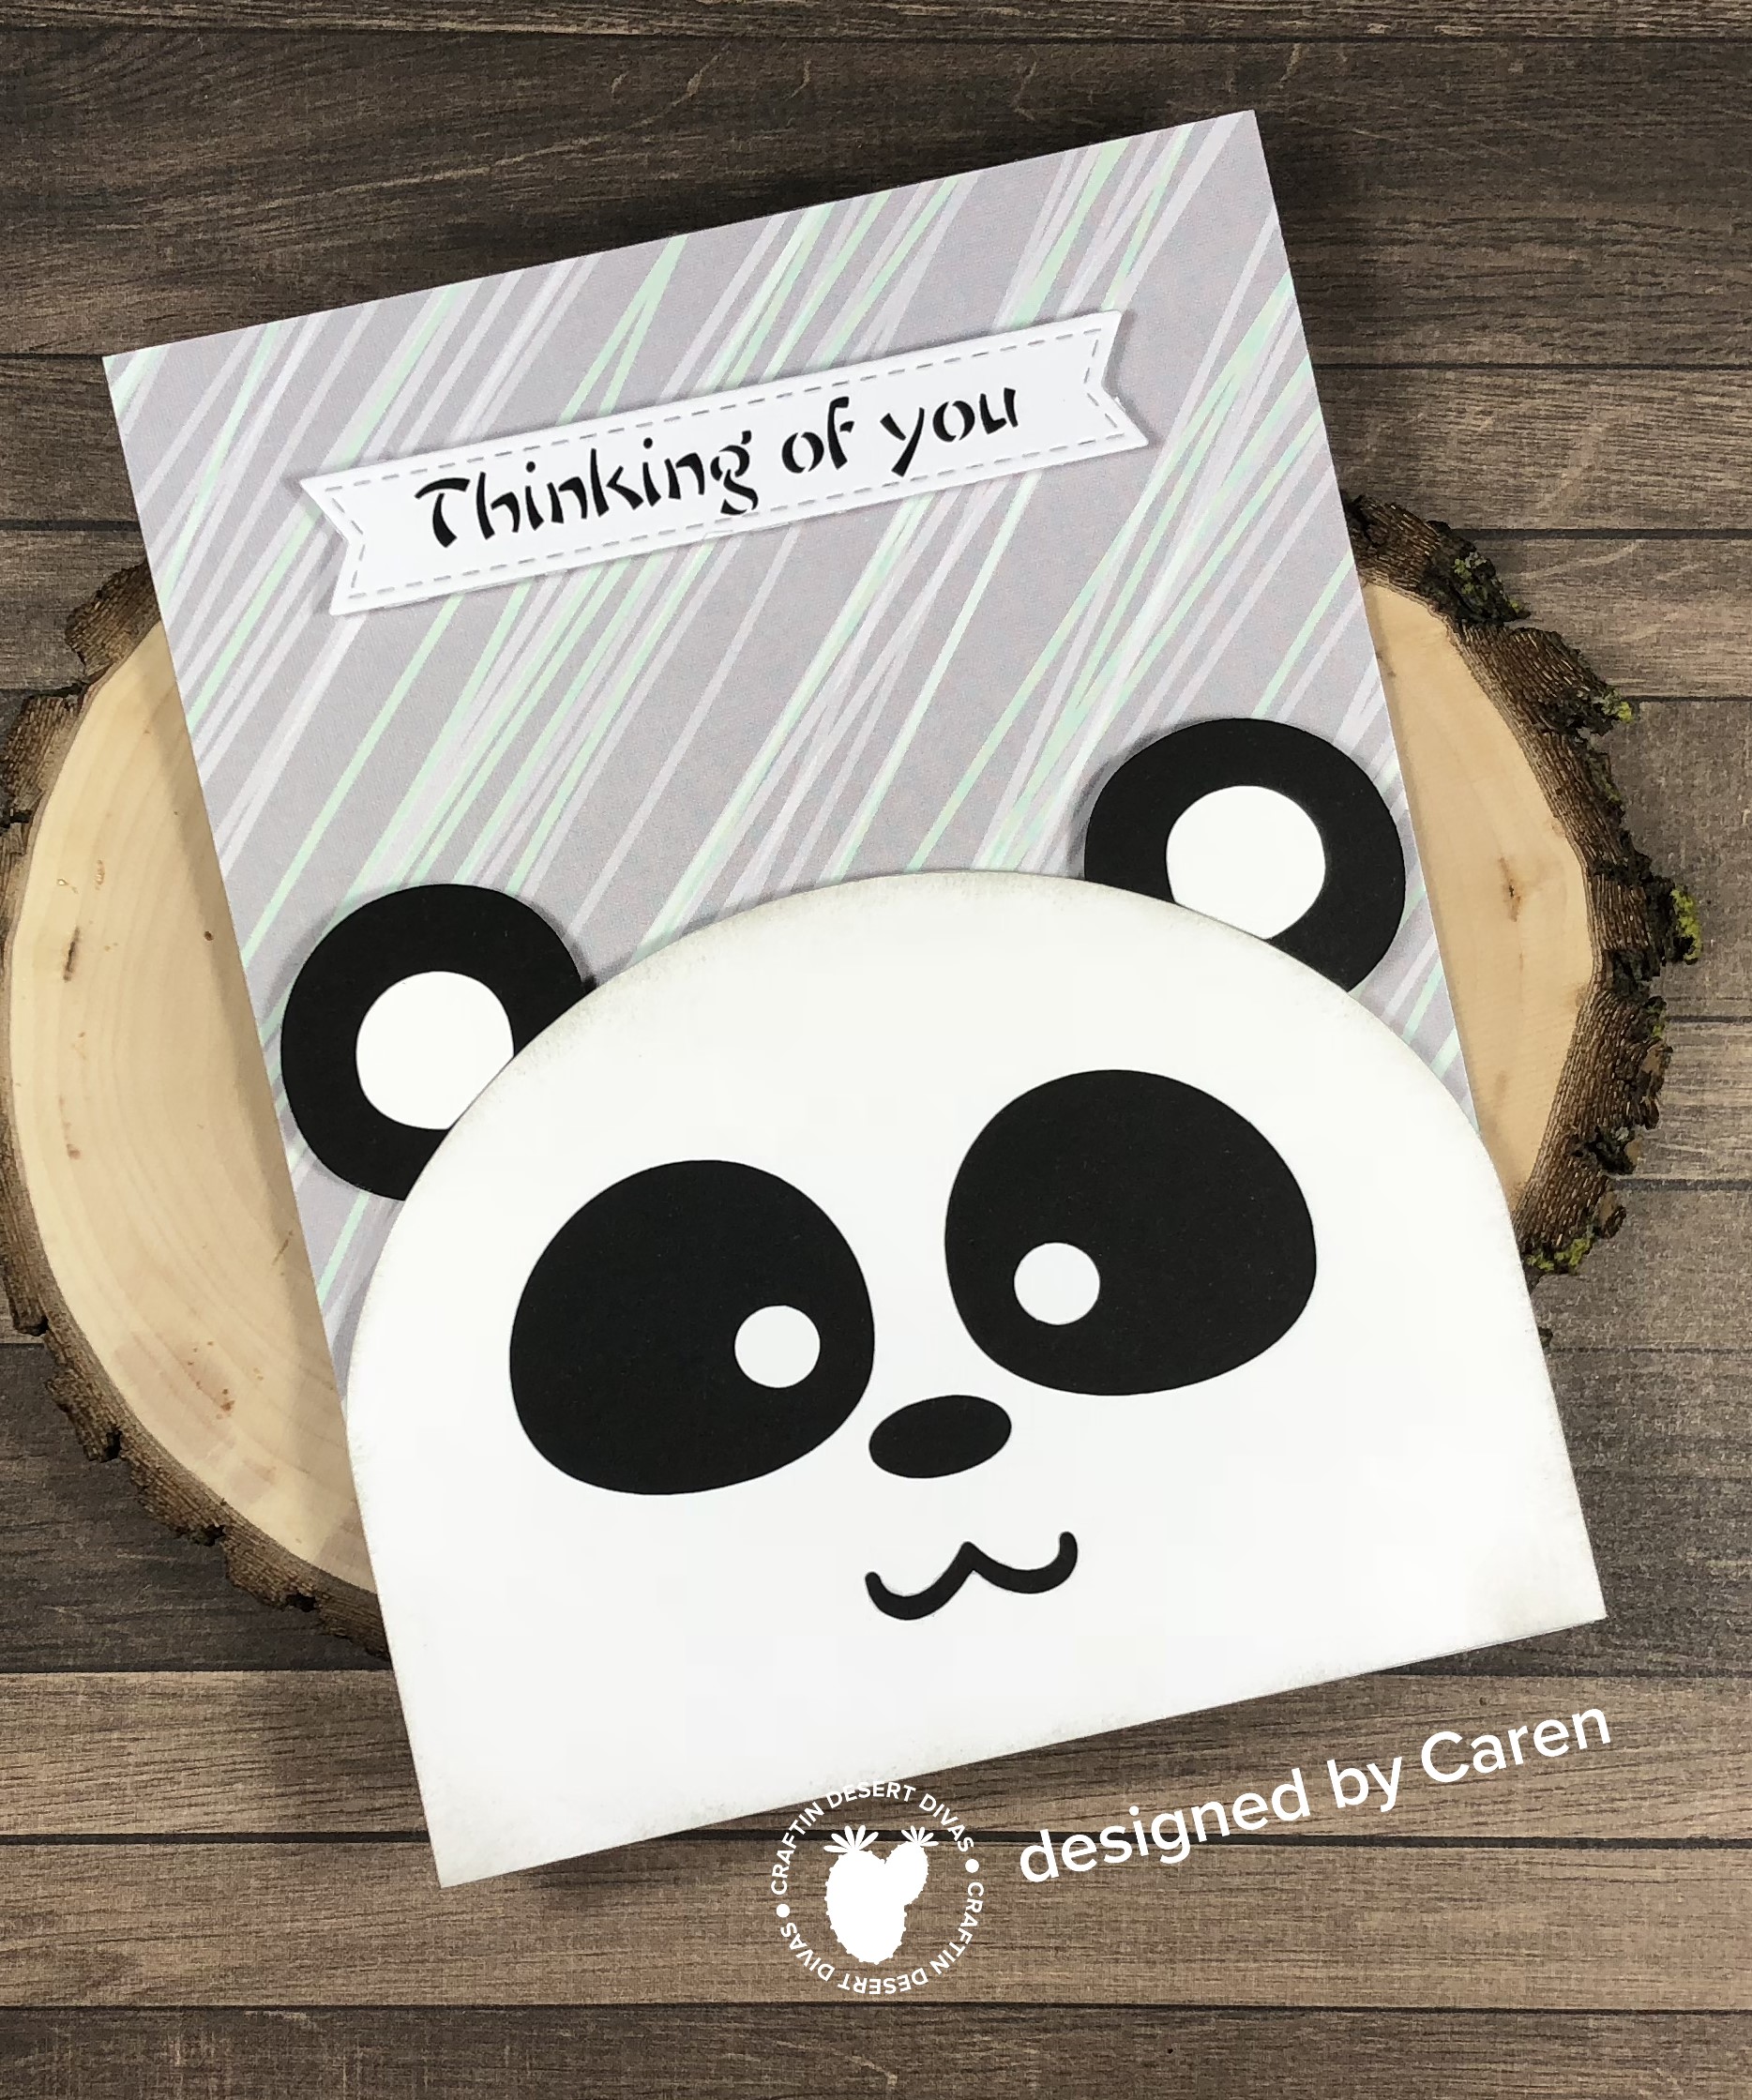

 Here is the link to the challenge on the Craftin Desert Diva blog to see the rest of the teams great creations and tips.
Thanks for stopping by!
Hi everyone! Welcome back to week 3 of my Leading Lady reign at Winnie and Walter. Thank you for all the wonderful comments on my first two posts.
For week three, I used the emboss resist technique to create cards using the great Winnie and Walter products. This technique is designed to leave the stamped image white while adding color to the background. The stamped image will “resist” the ink (thus the name).
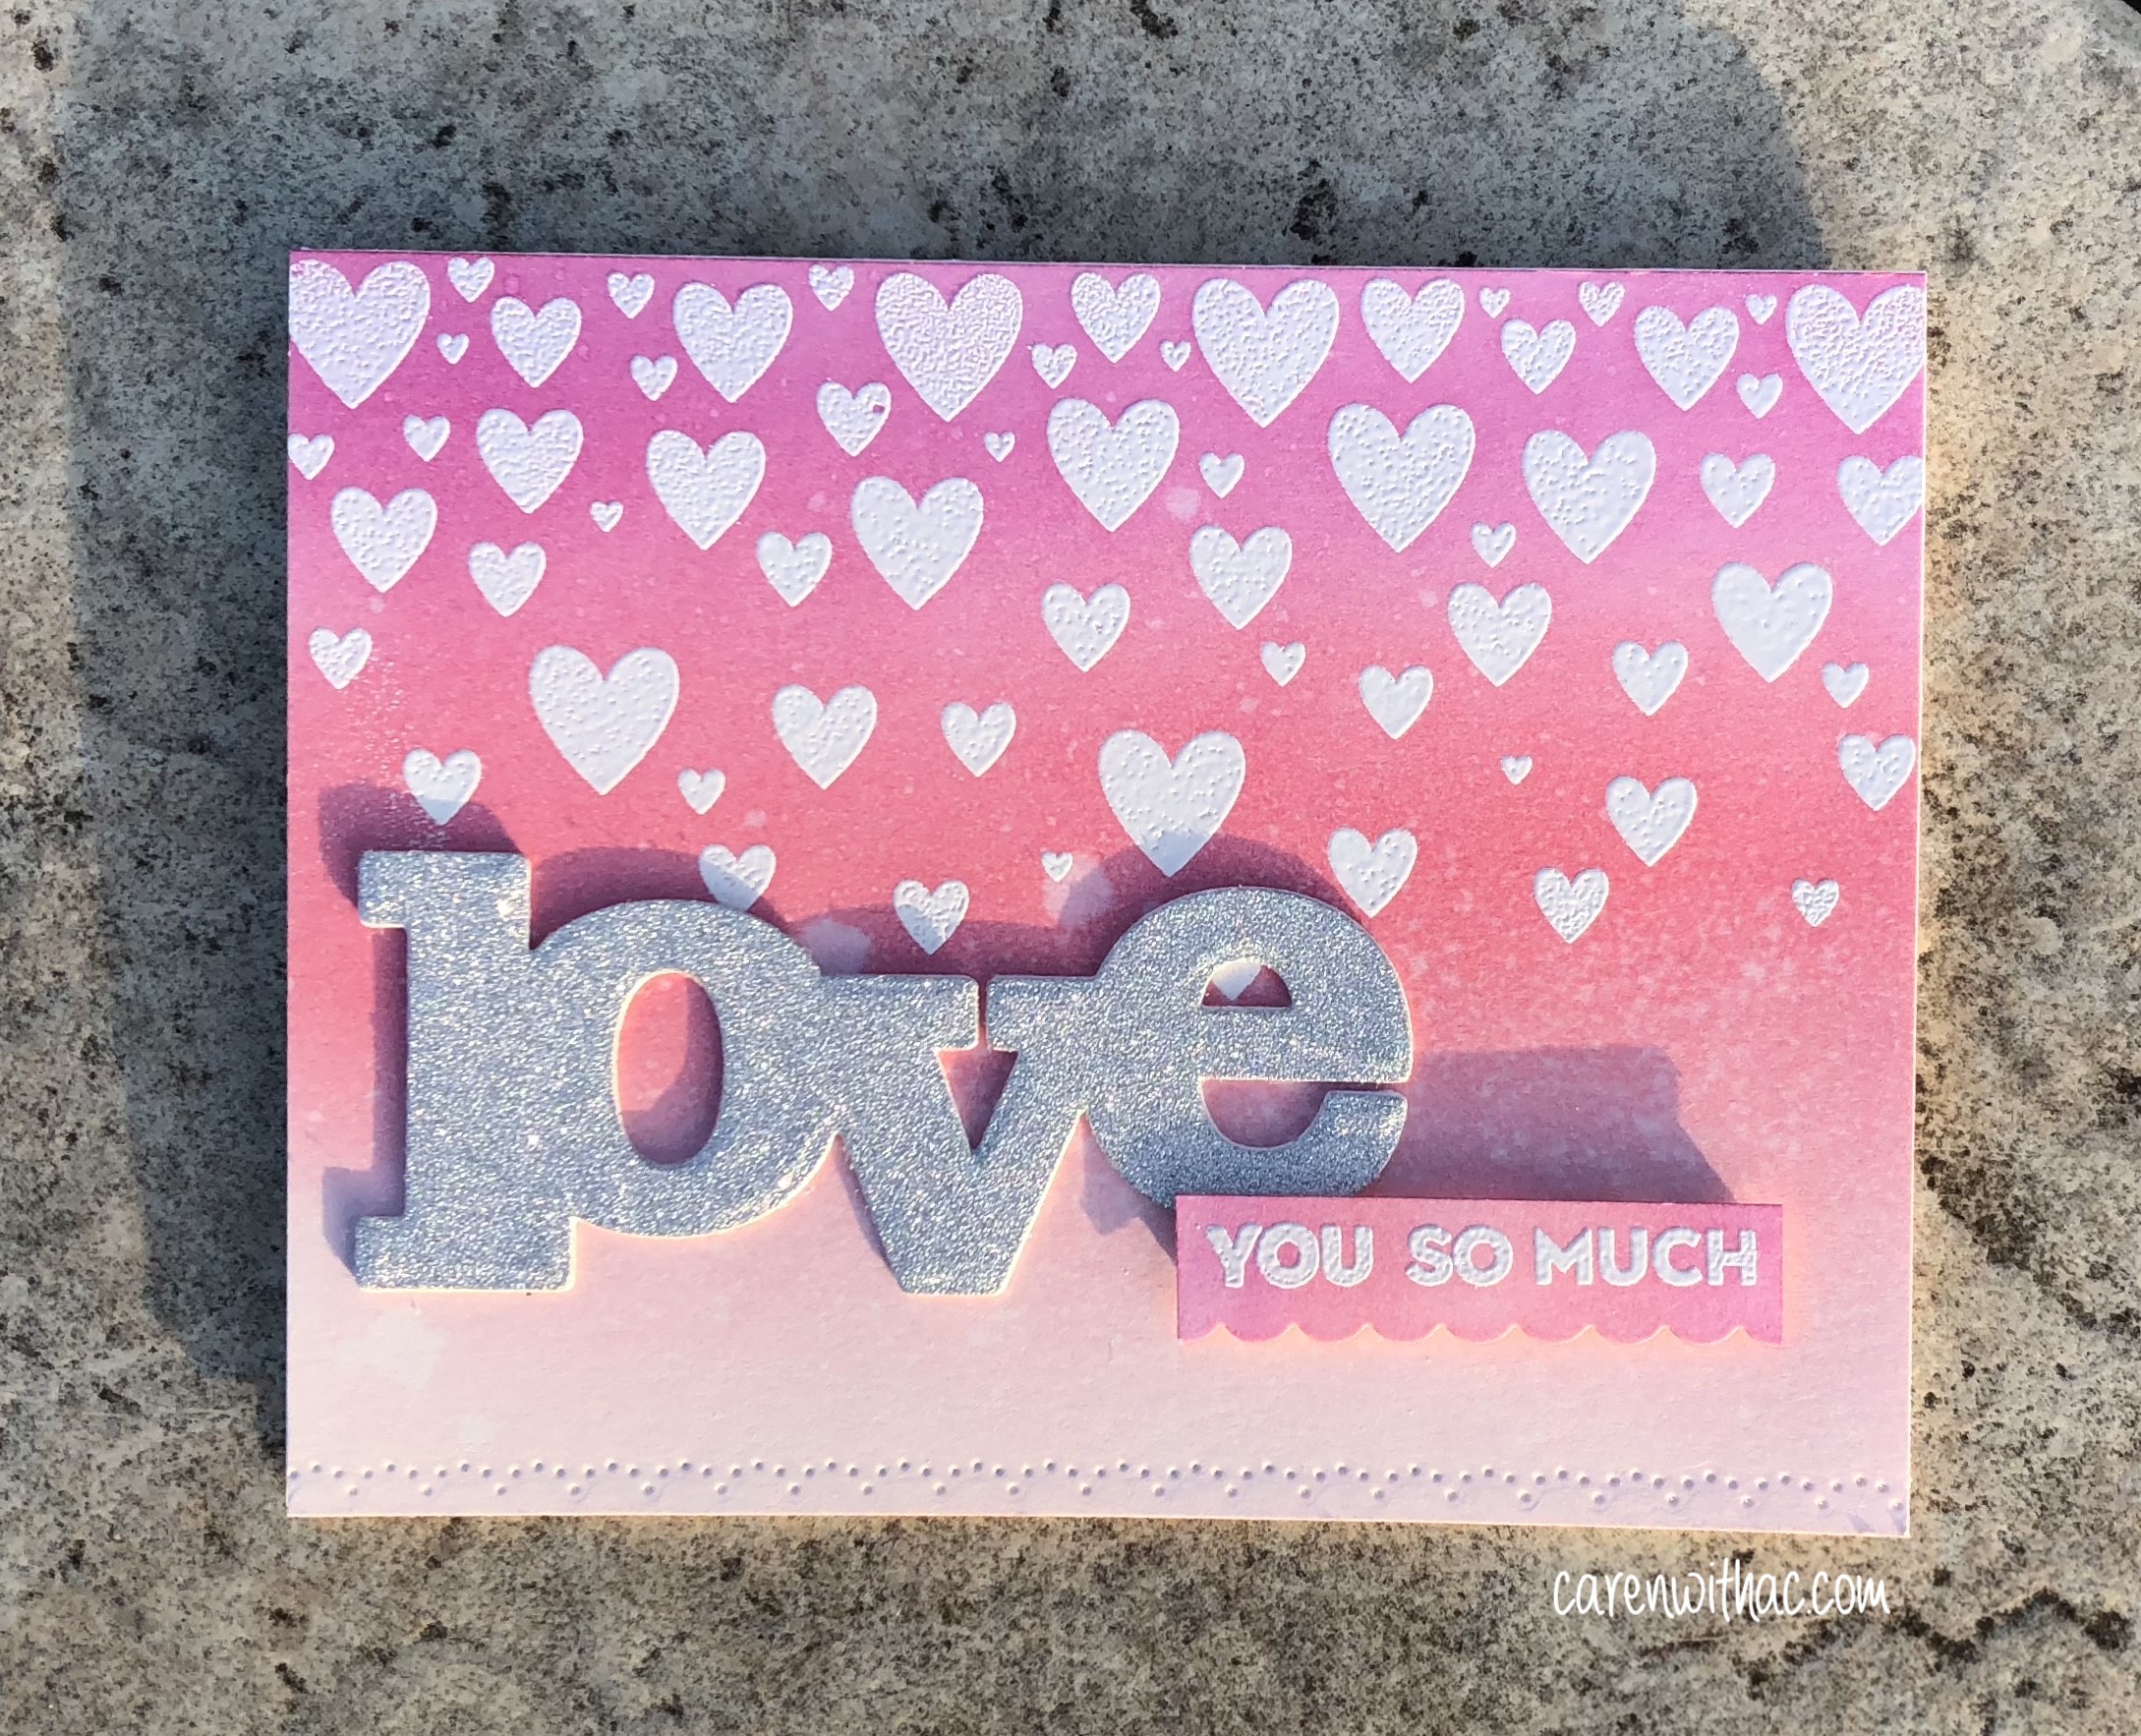
For my first card, I stamped the cascading hearts from the stamp set Scenery: Seeing Hearts in embossing ink, covered it in white embossing powder, and heat set it. I think inked up that panel using 3 shades of pink Distress ink. As you can see the hearts “resisted” the ink. I did the same thing with the You So Much sentiment from In a Word: Love stamp set. I thought the panel need a little more pizzazz, so I used on of the dies from Georgette Borders to add some detail to the bottom of the panel.
I used the Love die from In a Word: Love Coordinating Cutaways (have I mentioned I adore this die!) I die cut it three times and layered them together. The top layer is in silver glitter paper. I adhered them to the card base to finish the card.
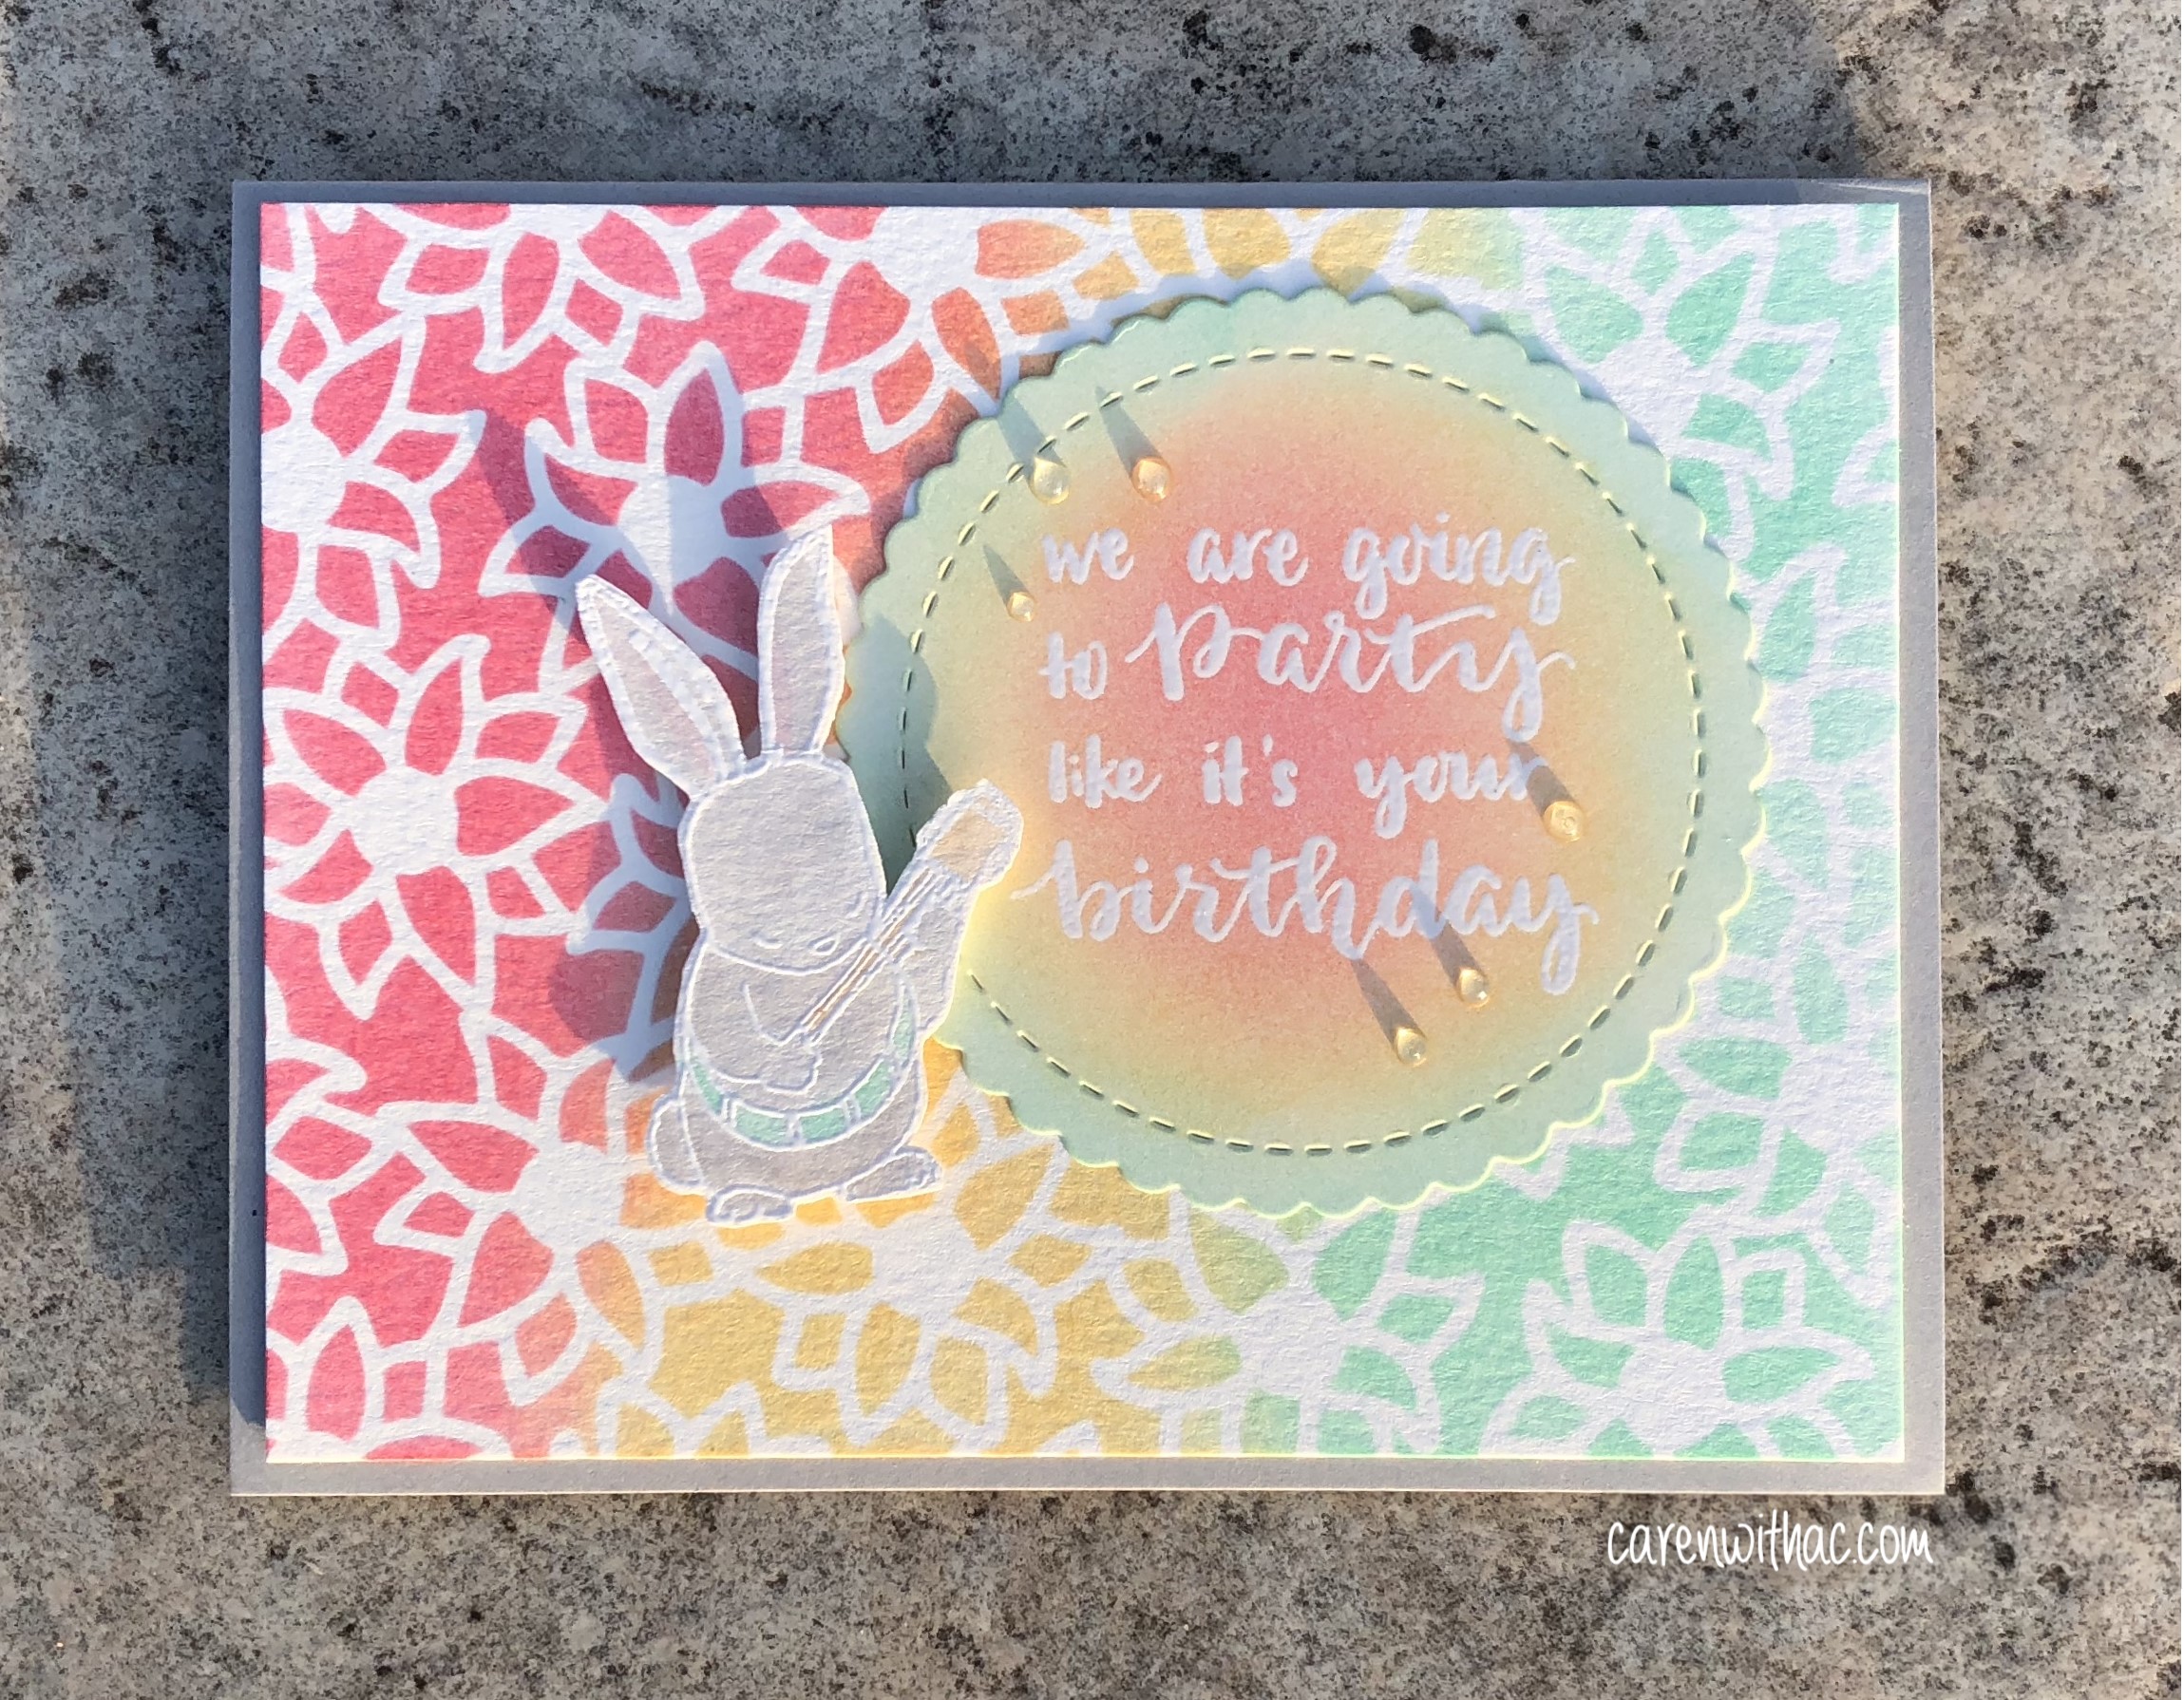
For the second card, I embossed the sentiment on a scalloped circle, then layered three shades of distress ink on it. The back panel uses the same three shades of ink with a stencil. I water colored the bunny using distress inks and fussy cut it out and layered all the pieces onto a gray card base. The sentiment and bunny are from the Party On with Evilin T Designs stamp set. I added a few clear Nuvo drops to finish the card.
Thanks again for the love last week, join me next week for the big finally and a chance to win a $30 gift card from Winnie and Walter on my blog.
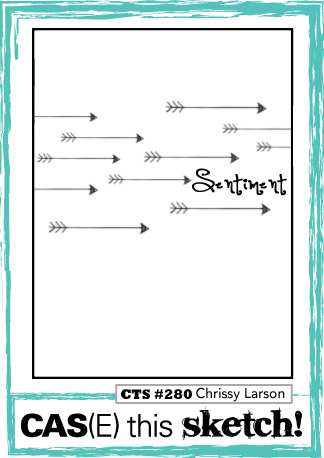
I took time to play along with three challenges this week, I’m hoping to keep this up. Here is the card I made for CAS(E) this Sketch challenge this week.
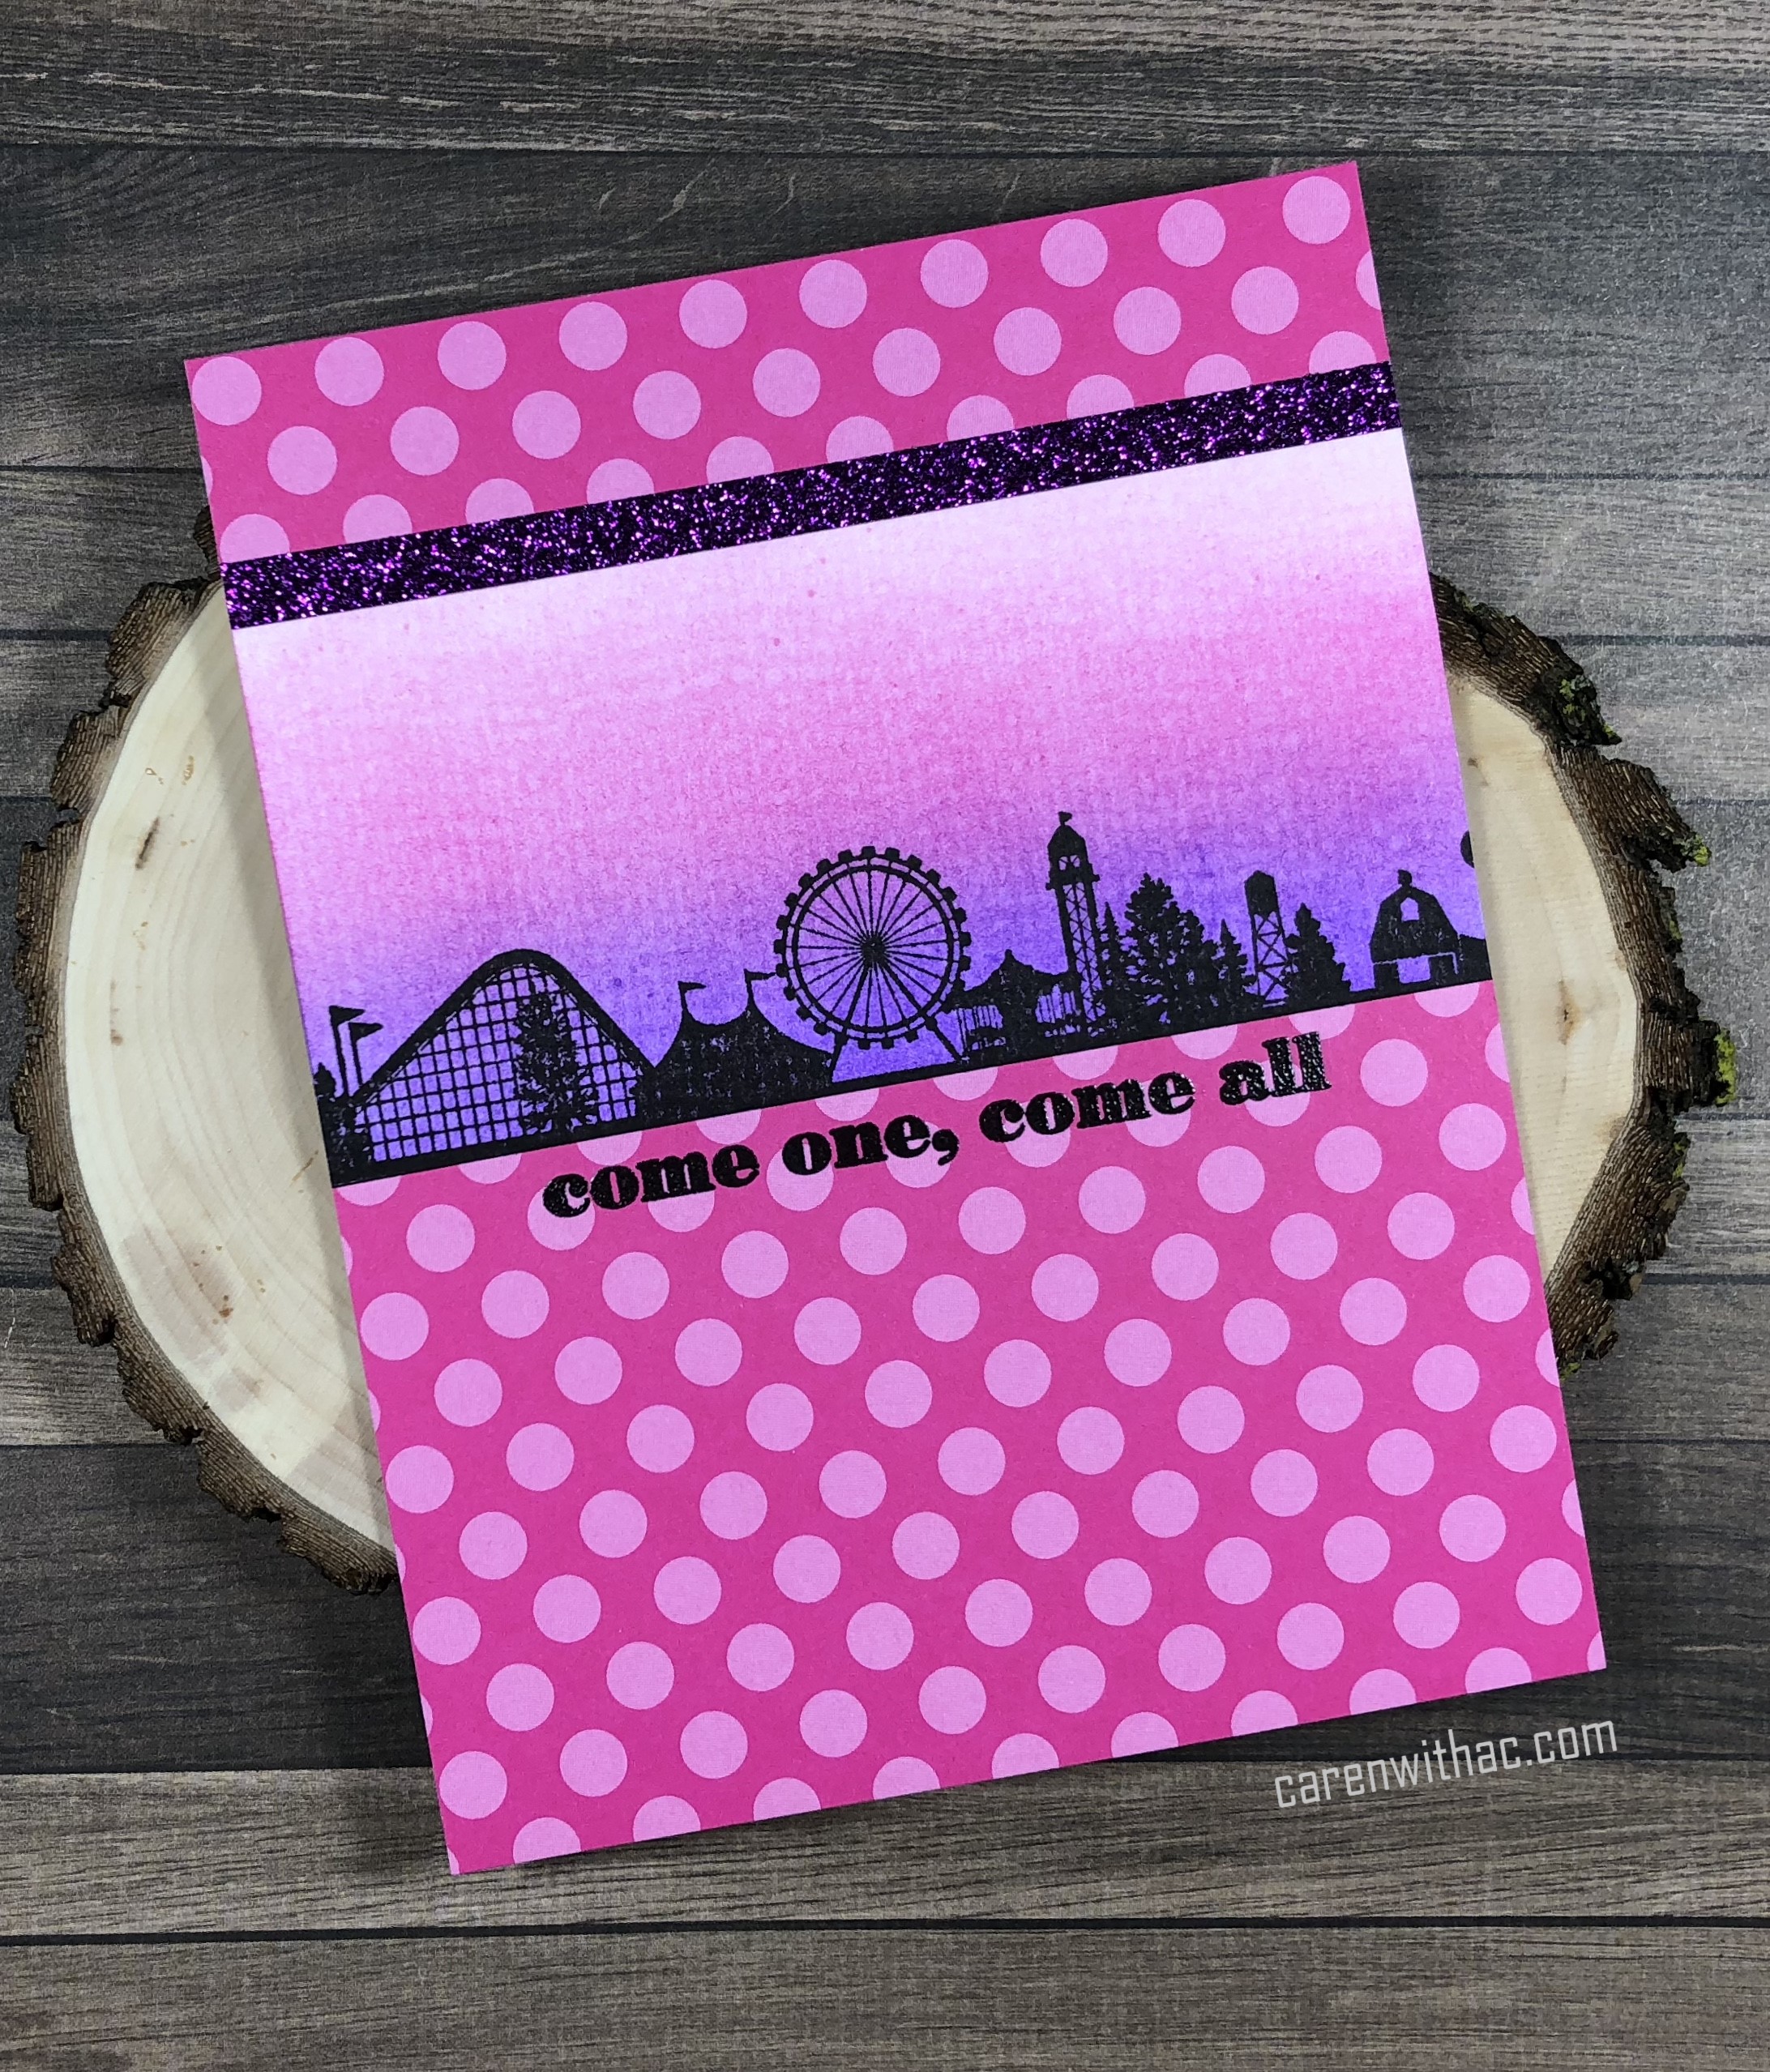
I used the stamps from the July My Monthly Hero kit from Hero Arts along with some patterned paper from Papertrey Ink. I love this kit and have already made several cards with it. Stay tuned for more!
Here is the sketch for this week:
Thanks for stopping by!
Hi everyone! I had time to play along with the Freshly Made Sketch Challenge this week. I found a Christmas patterned paper pack at Tuesday Morning, so I decided to get a jump start on my Christmas cards.
![]() Here is the sketch for this week – FMS345:
Here is the sketch for this week – FMS345:
 Thanks for stopping by.
Hi everyone! It’s week two for me as a Leading Lady at Winnie and Walter. Thank for all the sweet comments and birthday wishes. It’s not until the end of the month, but I like to celebrate all month long!
For week two, I’m sharing shaker cards I created with the great Winnie and Walter products. I absolutely love shaker cards, they are so much fun to create and recipients love them (especially my nephews.)
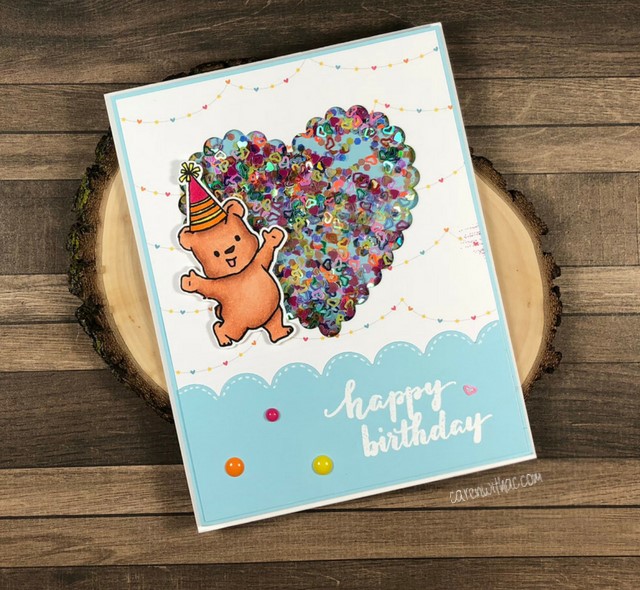
For my first card, I die cut the scalloped heart from True Dotty Heart Cutaways from a piece of patterned paper. I adhered acetate to the backside of the patterned paper and added some foam tape to raise the card. I added flat heart confetti for the shaker part of the card. The bear and party hat are from the Happy Dance with Evelin T Designs stamp set. I did some masking to add the hat to the bear, colored the image with Copics, then cut it out on using my Silhoutte Cameo. This set also has coordinating dies (I didn’t use them because of the masking).
I was going to add the sentiment, which is from Welcome to the Family with Evilin T Designs, directly to the patterned paper. I didn’t like how that looked so I cut a panel of blue card stock out and used the scallop border die from Georgette Borders. I heat embossed the Happy Birthday sentiment, added a few enamel dots that coordinated with the paper, and added a white dashed accent line with a white gel pen.
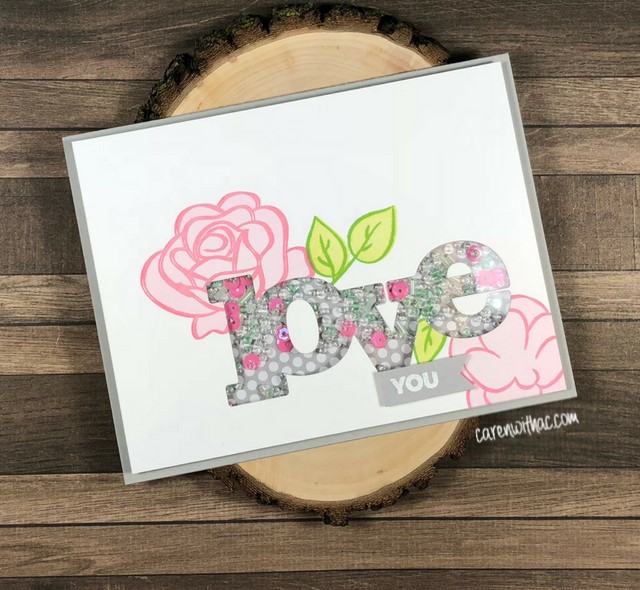
I love the way my second card turned out. I love flowers on cards, but for some reason, I don’t make many cards using flowers. I used one of the Love dies from In a Word: Love Coordinating Cutaways and used the negative space for the shaker part of this. I stamped the flowers and leaves from the The Big, the Bold and Extras stamp set. I added acetate and added a double layer of foam tape to the back of the card panel. I doubled the foam tape because I added beads for the shaker feature and wanted to make sure they would move around. To complete the sentiment, I stamped “YOU” from In a Word: Love stamp set and heat embossed using white embossing powder.
Thanks again for the love last week, the products from Winnie and Walter make it easy to make such cute cards.
At the end of the month, there will be a giveaway of a $30 gift card from Winnie and Walter here on my blog.I’ll see you next week, thanks for joining me!
Hi everyone! I’m so excited to be the Leading Lady for the month of July (my birthday month!) for Winnie and Walter. I had the pleasure of meeting Shay earlier this year at Stamping Away in Kansas. She is sweet, fun, and generous and I can’t wait until we get to play stamps again some day!
For week one, I’m going to focus on making cards from water colored backgrounds. I pulled out my water colors (which I need to do more) and made a few backgrounds. These are quick and easy to make and look gorgeous.
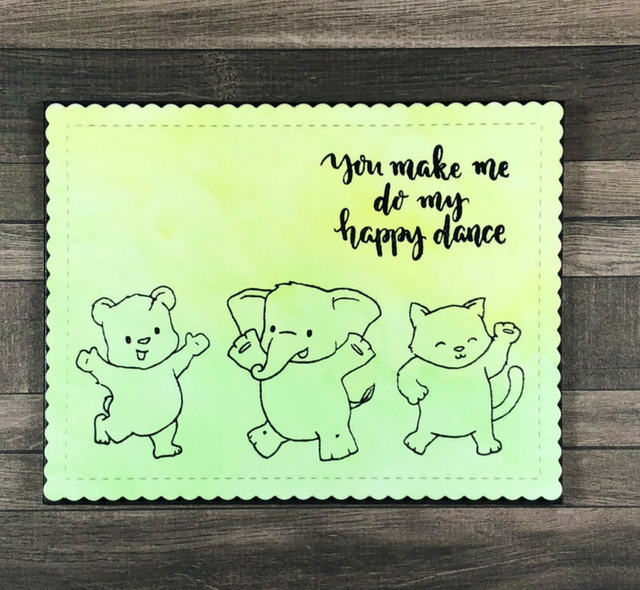
My first background, I used green and yellow water colors to make this simple and soft background. I then heat embossed the cute dancing animals from Happy Dance with Evelin T Designs and a sentiment from Party On with Evelin T Designs. If your not a person that likes to color, this is a great way to show off these cute images.
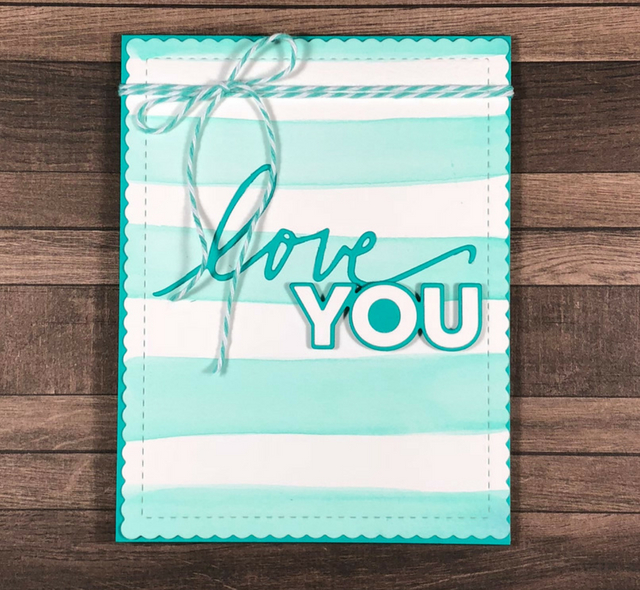
For my next background, I used a wide brush to water color turquoise stripes on a piece of water color paper. I really love how this one turned out and wanted to show off the background, so I kept it simple and only used dies. I used one of the Love dies from In a Word: Love Coordinating Cutaways. I love this die set and am going to have to force myself not to use it on every card! The You dies are from Dotty About You with Lydia Evans Cutaways. I cut top layer out of the same water color paper I used from the background and the bottom layer is from the same card stock I used for the card base. I popped the you die cut up with some foam tape, and then added some turquoise and white twine at the top to finish off the card.
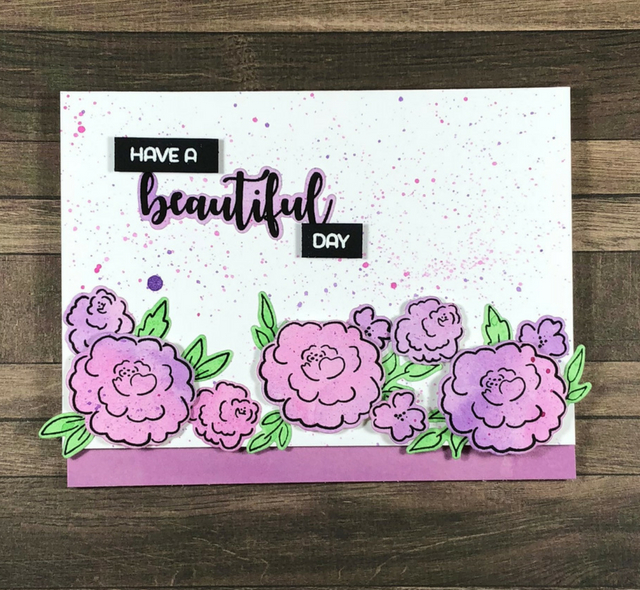
For card three, I water colored a background using pink and purple water colors, and then splattered some of the same colors on it. Instead of using it as a background, I stamped the sentiment beautiful and the flower images from In Bloom: Ashlee’s Rosie Posies with Lydia Evans onto the background paper and used the coordinating cutaway dies to cut them out. I also water colored some green on water color paper, stamped the leaves, and die cut them. I used the same pink and purple water colors to splatter on a piece of white card stock. I arranged the flowers and leaves at the bottom of this piece, popping some of the flowers up with dimensional foam tape. I white heat embossed the Have a and Day onto some black card stock to complete the sentiment.
I had so much fun making these cards and showcasing the wonderful products from Winnie and Walter .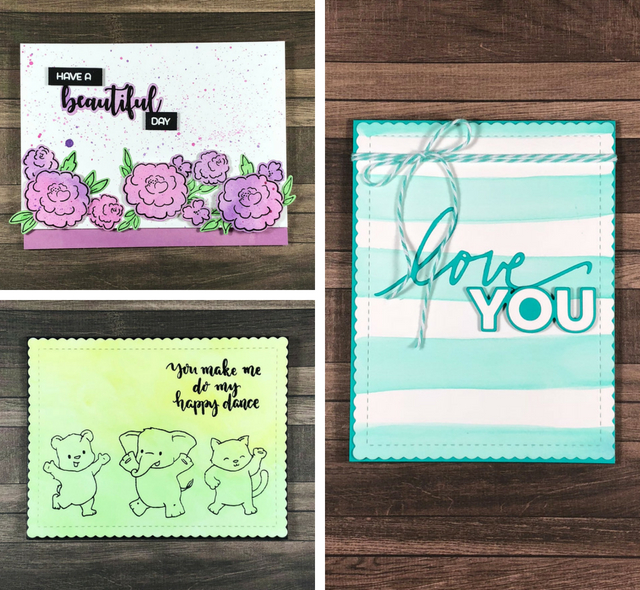
At the end of the month, there will be a giveaway of a $30 gift card from Winnie and Walter here on my blog.I’ll see you next week, thanks for joining me!